Part 2 available here.
I thought it would be a fun novelty to have a cube that lit from its core. It would make it easier to cube in dim light — and, let’s face it, not being able to cube in dim light tops the serious first world problems list!?! And it would be fun. There are some decent glow-in-the-dark cubes (e.g., the C4U ones). But those have to be “charged” and need a very dark environment to glow. They also don’t help one bit with sticker colors.
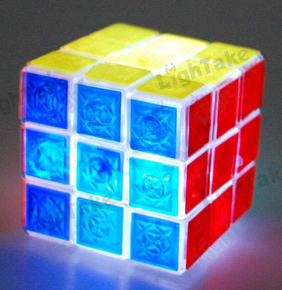
It turns out that there is at least one model of light-up cubes: The Ghosthand Crystal Cube, which is a bargain at a mere $5.99. Knowing I’d want to “hack” the cube, I bought three.
Hack it? Yep, hack it. As shown in someone else’s video below, the cube is infuriating to use. The cube lights when it senses motion using a rudimentary accelerometer/mercury switch, triggering a very irritating 10-second blinking pattern. Besides that the trigger doesn’t always sense motion, the blinking is beyond distracting. I felt like grabbing a pacifier and heading to a 3am warehouse party. More to the point, the blinking made it hard to track the colors during solves.
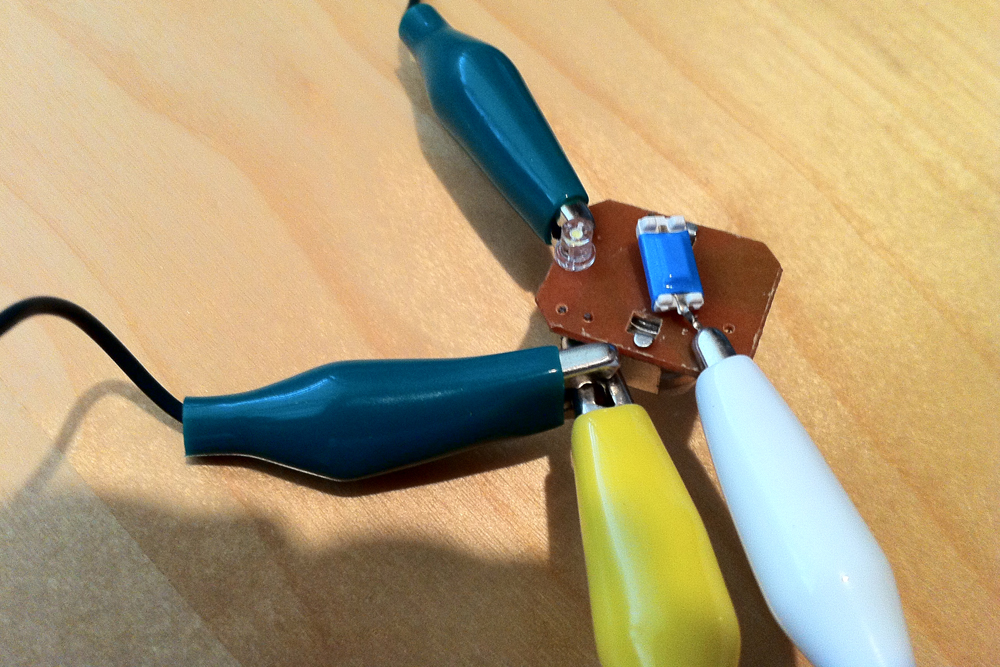
So, I decided to hack it. Naturally. The basic components were all fine — an oversized ball-shaped hollow core containing replaceable watch batteries and decent LEDs, decently engineered transparent cubies, and translucent tiles (not stickers). That blinking just had to go. After disassembling the core, I used a multimeter to determine that the motion switch sent a momentary signal to a tiny integrated circuit that controlled the flash pattern. I decided to disconnect the switch and wire around that circuit entirely, soldering small leads from the switched battery pole to each of the two LEDs. That was easy enough, and worked perfectly. Both LEDs stayed lit was the circuit was closed. Here’s a gallery showing the work:

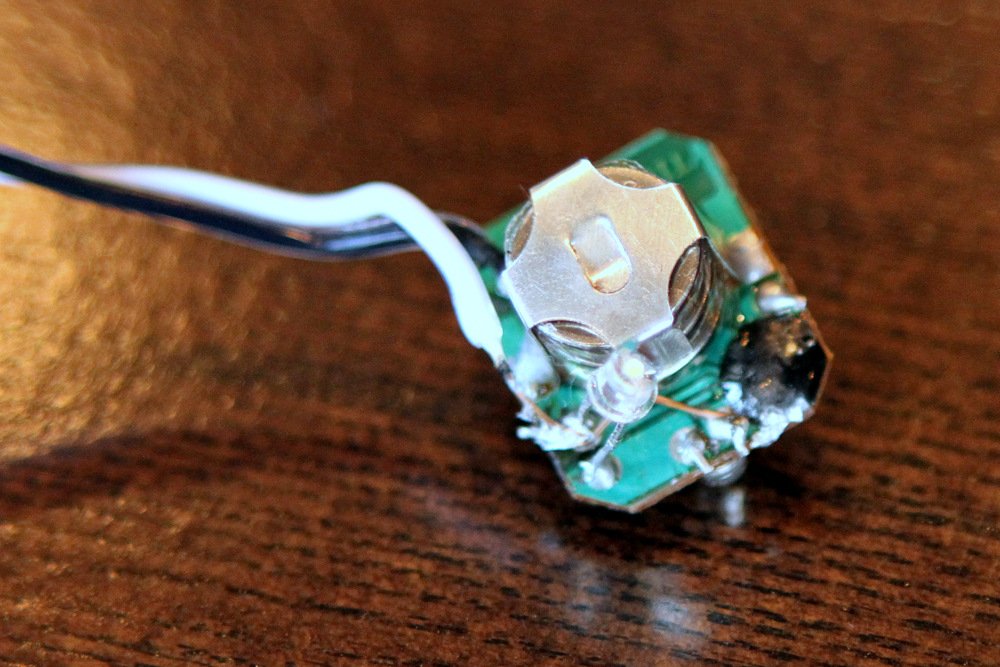
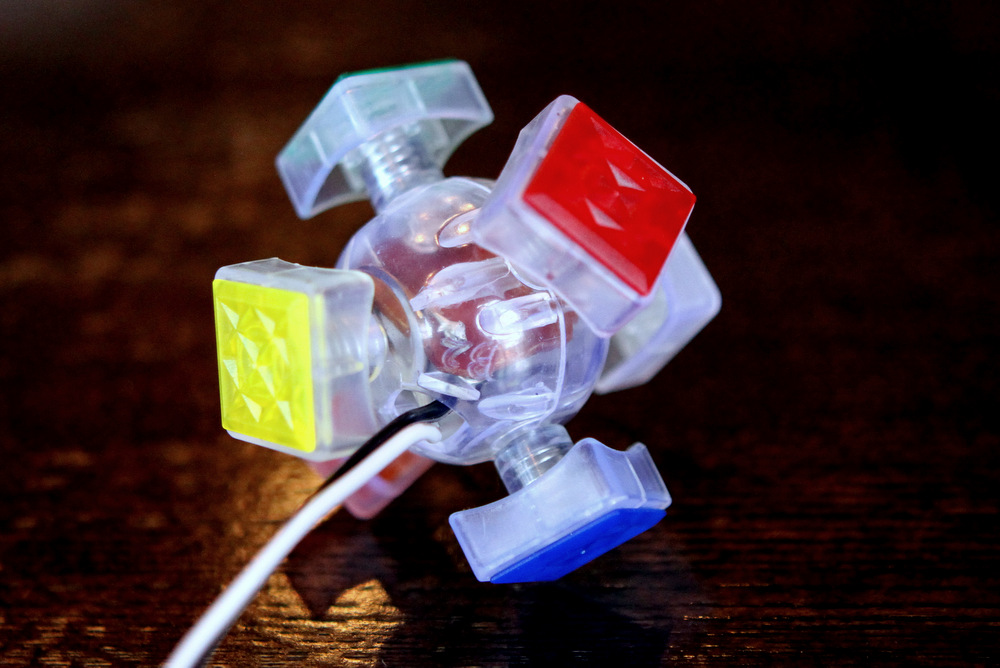


Without the motion switch (which was momentary only, in any event) and IC, I knew there would remain no on-board way of switching the lights on and off. So, rather than hard-wire the battery-to-LEDs lead, I soldered in a long two-conductor wire that snaked through a hole in the core. That would allow me to test the setup with the cubies replaced. Again, it worked perfectly.
Now I’m left with figuring out how to switch the power on/off. I contemplated a photoelectric cell that would turn on automatically in the dark. But that setup would require a really dark room and would drain the battery overnight. I also contemplated feeding the power leads through one of the stems of the center pieces and putting a micro switch under the tile. Then I realized that the wires would get terribly twisted as the centers turned. Plus, the caps are not removable.
My current gameplan is to use a micro tact switch that I’ll mount inside the core. If it will fit and surface-mount through one of the core’s holes, it could be triggered with a paperclip. Unfortunately, most tact switches are momentary (i.e., non-latching). I ordered a supposedly latching one from this set on amazon. I’ll play with those switches when they arrive next week.
I did briefly contemplate rigging one of the center pieces as a push in/out switch trigger. But I think that will prove impossible without fabricating new parts, which I’m not capable of.
I also considered keeping the motion switch and building a timer circuit that, once triggered, would “latch” for, say, 30 seconds. But I don’t think there’s enough room to build a DIY timing circuit into the core.
Any other ideas for controlling power?

hey would you sell me a hacked cube? 😀
Thanks for the interest. I’m not planning on making any more right now. But, If I find some time soon, I’ll definitely let you know.